Did you know you can use command line tools to get information about your SNMP-based devices? This article will teach you how to use command line tools to scan SNMP devices for available counters and other values. We'll walk you through a scenario in which you've encountered an unknown SNMP-based device in your environment and you want to ascertain information about it with a scan.
In such a scenario, you can perform an SNMP walk to learn more about your mystery device. An SNMP walk command allows users to extract useful information about their devices without knowing the unique commands for each node. Each SNMP-enabled device has multiple values, called object identifiers (OIDs), which contain information you can use for testing, monitoring, and analysis. In this article, we'll be using NetSNMP tools running on Windows, but you can perform an SNMP walk on any operating system, including most Linux systems and macOS.
Step 1: SNMP Walk
To begin, perform an SNMP walk on the target device and scan the "system" tree for the device. The image below shows an example of this using a placeholder device. We've included the SNMP walk command we used below, but note that yours will be different depending on the community string and SNMP version you're using. SNMPv2c is recommended, but your device may not support this version of SNMP and you may need to use version one instead.
snmpwalk -v 2c -c public -M MIBs -m ALL 127.0.0.1:1615 system
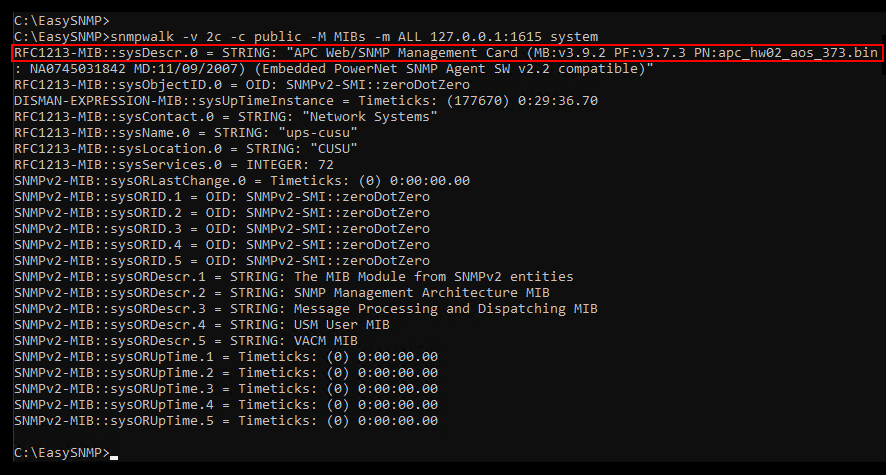
The information you obtain from the SNMP walk will lay the groundwork for how to proceed. There are thousands of different types of SNMP devices, each one with its own counters and values that can be used for monitoring and management. In the above-highlighted portion, we've learned that the device in question is an APC web/SNMP management card. Knowing that APC is a vendor of UPCs and power systems, it's a safe bet to guess that our sample device is likely a power system.
Step 2: Scanning the Whole Tree
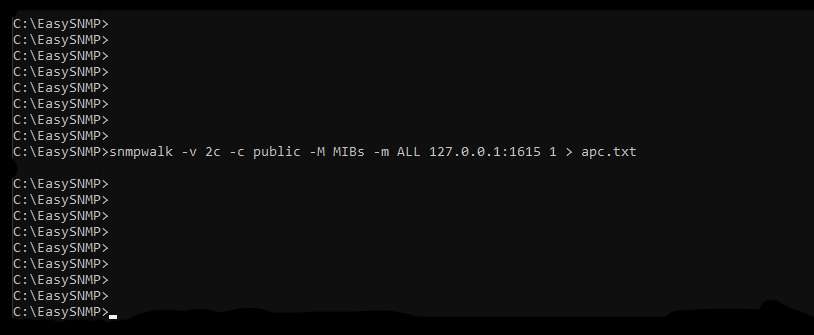
Next, we'll scan for all values supported by the device. Entering a '1' in the command line now will return a list of all numeric OIDs beginning with '1'. The returned list will be very long, so append "> apc.txt" to redirect them into a text file for easier viewing, as shown below. For the device we're using, the command returned over 2700 different values, which is to be expected.
Let's take a look at that .txt file in Notepad:
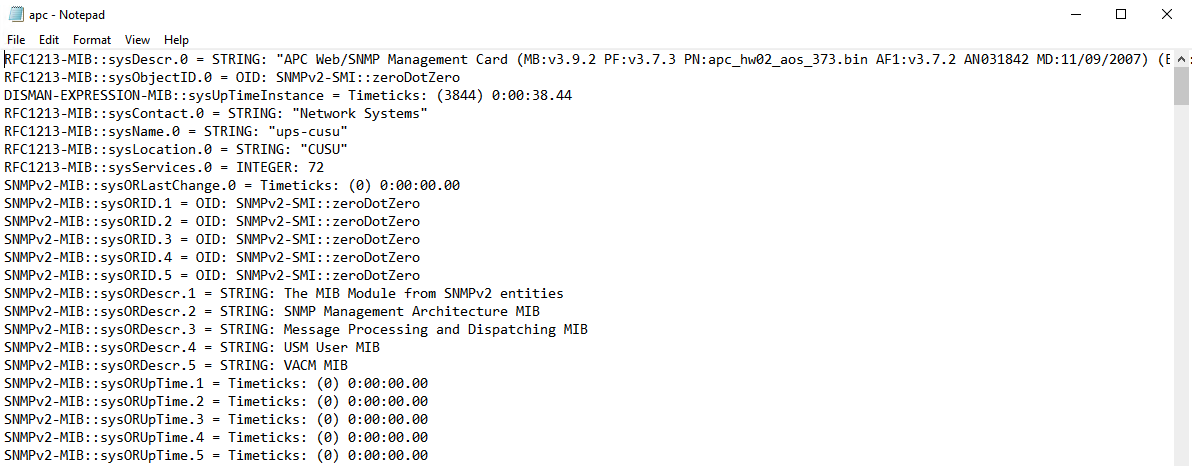
As you can see, you can learn a few more things about the device in question just by viewing its .txt file, like its physical address and some interfaces. Other values in the file will be incomprehensible, so we'll need to access the management information base (MIB) file to view some of these numeric OIDs in a more decipherable format.
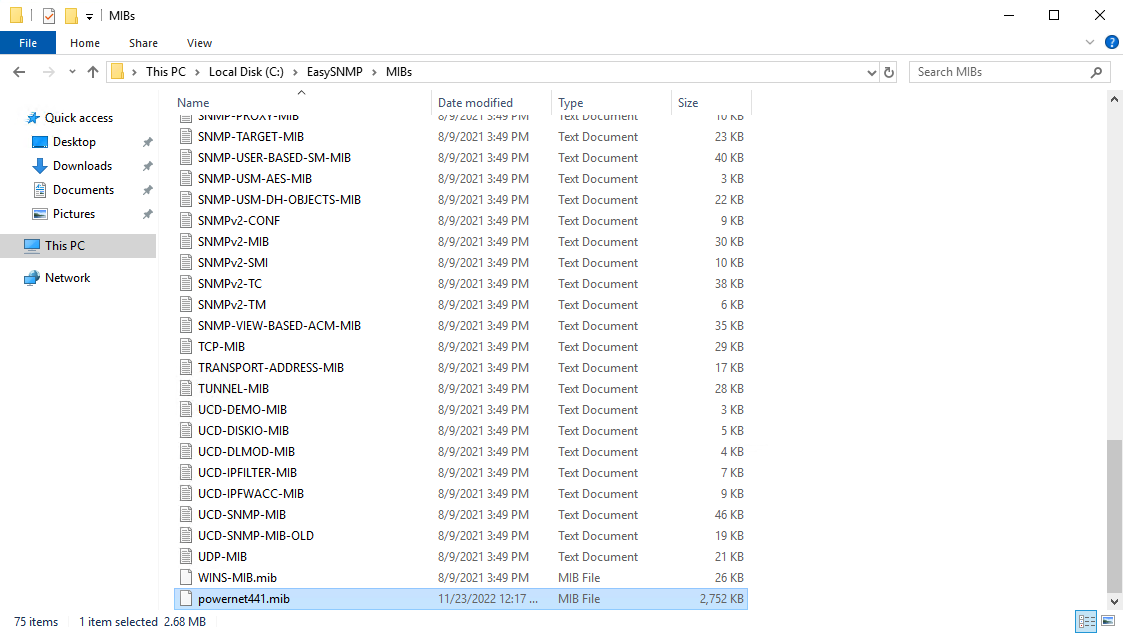
Step 3: Locating and Adding the MIB File
From the information we've gathered so far, we can locate the MIB file on the manufacturer's (APC's) website.
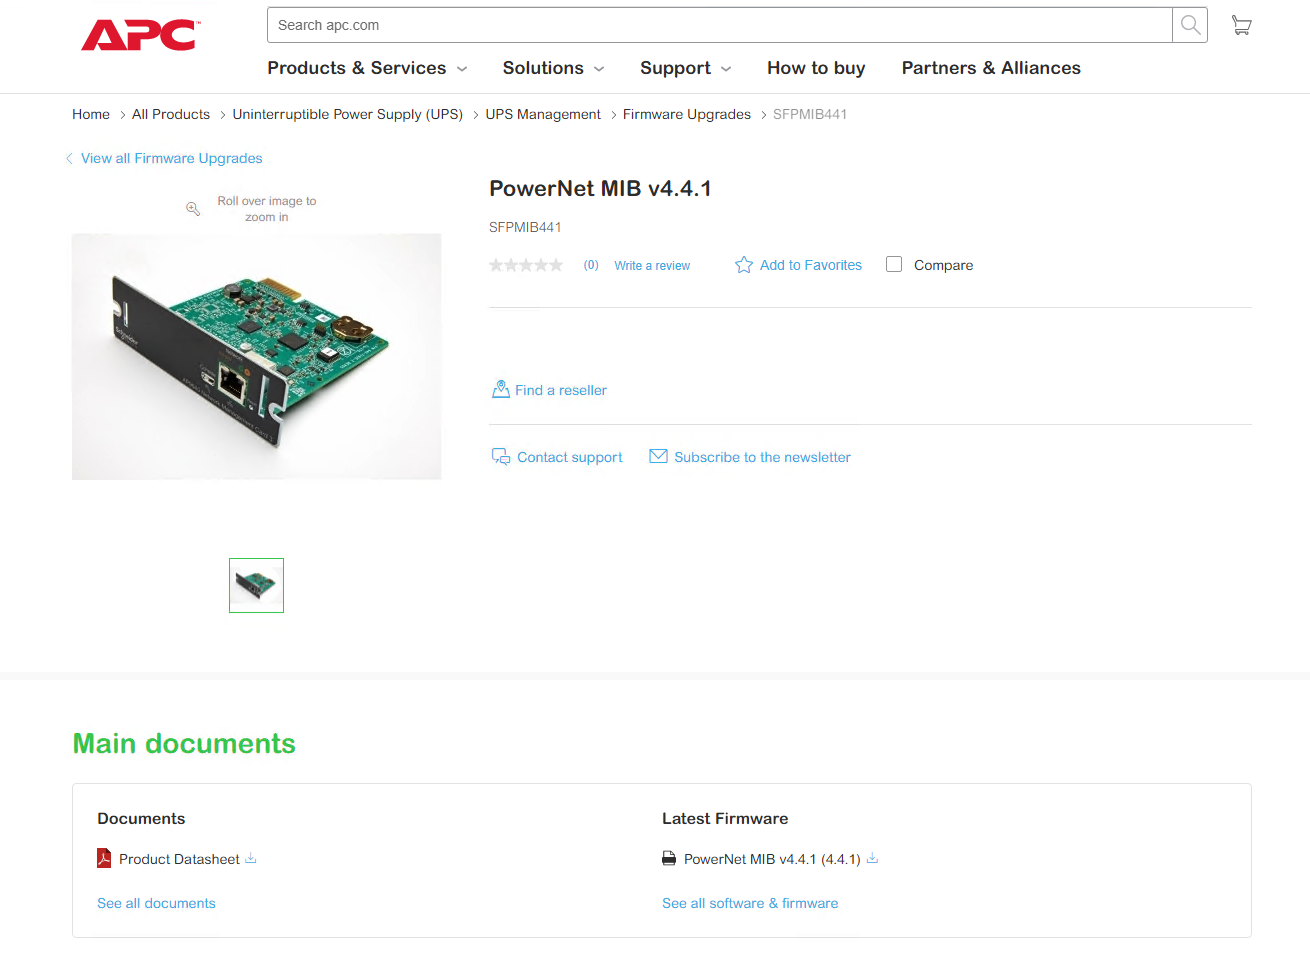
Near the bottom of the page, the MIB file is available for download. Once downloaded, you can add it to your existing MIB folder.
After that, perform another SNMP scan, outputting the values to a new text file.
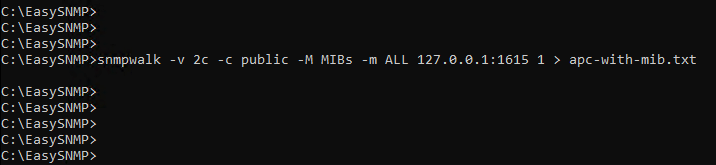
This new text file will contain the same information but, scrolling down, you can also view the new information translated by the MIB file. The new values are the ones with "PowerNet-MIB" at the beginning.
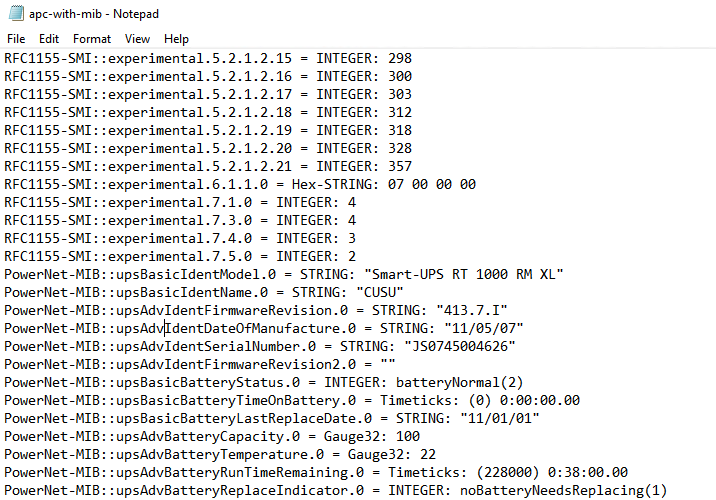
From the above values, we now know the temperature, capacity, and output voltage of the device's batteries. Depending on the device you're scanning, you'll potentially find thousands of items that indicate the status of your device and how it's performing. Spend some time looking through the text file that was generated. You might find additional values that you didn't know the device supported. These values could prove instrumental when it comes to monitoring the status of your device.
Step 4: Monitoring Discovered Values
To monitor the values you've discovered most efficiently, you'll want to convert them back into numeric OIDS. This is because it takes time to convert friendly names back into OIDs and, with potentially thousands of values, that time adds up. If you only want to monitor a small number of values, this step isn't crucial, but it's the most efficient method generally.

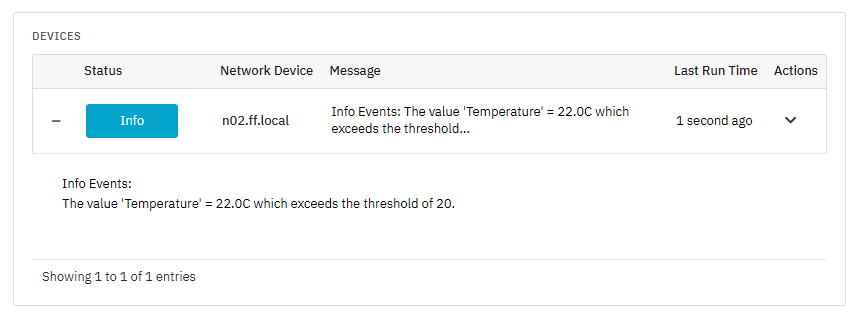
For 24x7 monitoring of SNMP values with alerting, graphs, and dashboards, we recommend EasySNMP's sponsor, FrameFlow. Their free 30-day trial is available here. Below, we've inserted the alert FrameFlow generated when it found that the temperature of our device's batteries exceeds the threshold for an "info" level alert.
Summary
This blog post taught you how to scan unknown SNMP-based devices for values using command-line tools. We also talked about how to begin monitoring these values with FrameFlow. Keep an eye on EasySNMP's blog for more posts coming soon on targeted SNMP topics!
